Another Battle Royale enters the arena, this time it is EA with Apex Legends. As with other popular Battle Royale games, it is free to play. In this guide, we will go over how you can gain the best settings, by tweaking your in-game settings and your graphics cards settings to gain a boost in performance and increased FPS (frames per seconds). In a competitive environment, you want to squeeze out as many frames as possible.
If you are interested in other professional players, you should check out our Apex Legends Pro Settings guide. Additionally, we have made a guide on the best Apex Legends keybinds.
Minimum PC/System Requirements for Apex Legends
You should start by checking how you compare to the minimum requirements for the game. If you barely reach these requirements, you should definitely be playing on the lowest settings.
Minimum Requirements
- OS: 64-bit Windows 7
- CPU: Intel Core i3-6300 3.8GHz / AMD FX-4350 4.2 GHz Quad-Core Processor
- GPU: NVIDIA GeForce GT 640 / Radeon HD 7700
- GPU RAM: 1 GB
- RAM: 6GB
- HARD DRIVE: Minimum 30 GB of free space
While this is the minimum requirements, EA also has some recommended system requirements:
Recommended Requirements
- OS: 64-bit Windows 7
- CPU: Intel i5 3570K or equivalent
- GPU: Nvidia GeForce GTX 970 / AMD Radeon R9 290
- GPU RAM: 8GB
- RAM: 8GB
- HARD DRIVE: Minimum 30 GB of free space
PC Options
This are the options you have to customize your settings on PC.
Setting most of these options to the lowest will obviously give you the highest performance increase. In the following section, we will explain some of the options.
Quick reference:
- Adaptive Resolution FPS Target: 0 (off) – 100 (requires TSAA when Enabled)
- Aspect Ratio: 4:3 and 5:4 / 16:9 / 16:10 / 21:9
- Color Blind Mode: Off / Protanopia / Deuteranopia / Tritanopia
- FOV: Slider (70-110)
- Display Mode: Full screen / Windowed / Borderless Window
- Texture streaming budget: None / 2GB VRAM / 2-3 GB VRAM / 3 GB VRAM / 4 GB VRAM / 6 GB VRAM / 8 GB VRAM
- Adaptive Supersampling: Disabled / Enabled
- V-Sync: Disabled / 3x buffered / Adaptive / Adaptive (1/2 rate)
- Anti-aliasing: None / TSAA
- Ambient Occlusion: Disabled / Low / Medium / High
- Dynamic Spot Shadows: Disabled / Enabled
- Effects Detail: Low / Medium / High
- Impact Marks: Disabled / Low / High
- Model Detail: Low / Medium / High
- Ragdoll: Low / Medium / High
- Spot Shadow Detail: Disabled / Low / High / Very High
- Sun Shadow Coverage: Low / High
- Sun Shadow Detail: Low / High
- Texture Filtering: Bilinear, Trilinear, Anisotropic (2x, 4x, 8x, 16x)
- Volumetric Lighting: Disabled / Enabled
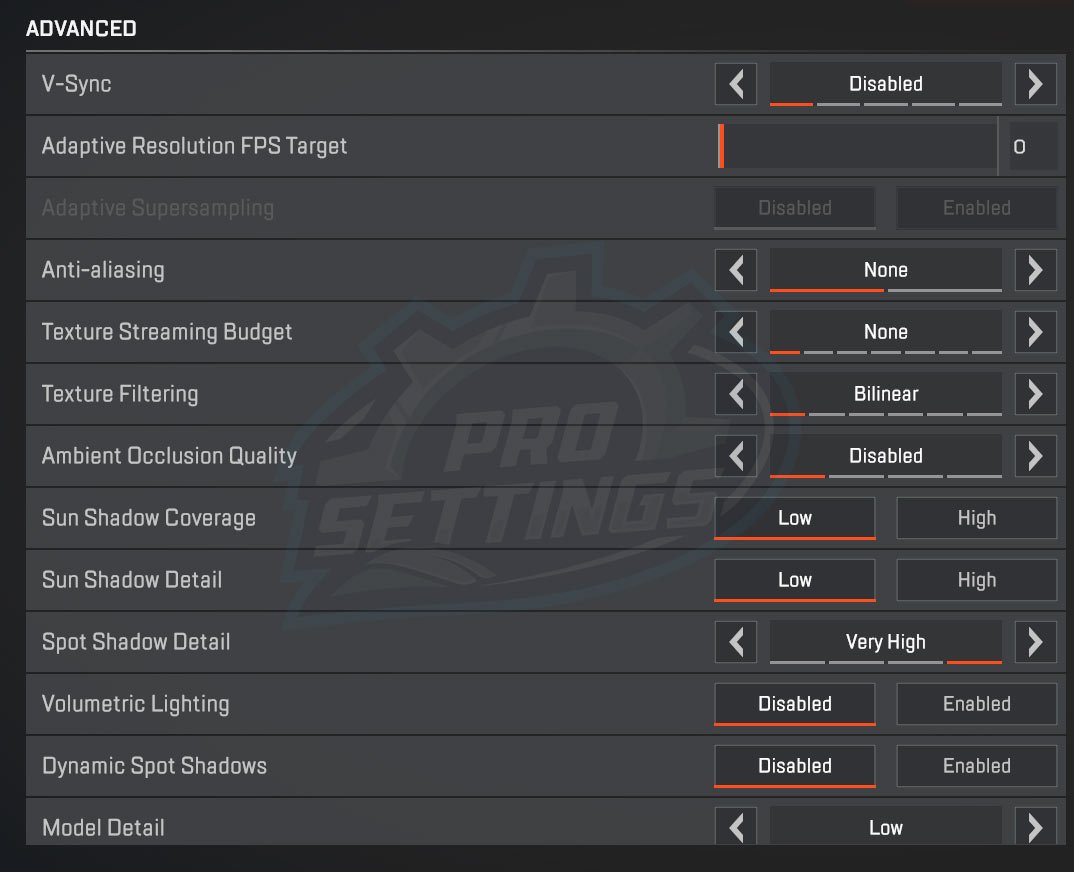
Optimize In-Game Apex Legends Settings
If you want the highest possible FPS, you should generally lower your graphics settings as mention earlier. Go to your in-game settings and let’s get started. This is how to get the highest FPS possible.
Please note that the increase in performance means how much you will gain in frame rates. Also, the performance increases will vary from system to system. This was tested on a system with an RTX 2080 graphics card, i7-9700k processor, and 32GB DDD4 ram.
Display Mode: Set display mode to Full Screen. This ensures your game is given maximum resources.
Aspect Ratio: Keep this on native, for most people, this is 16:9.
Resolution: Set your Resolution to your native resolution. If you want to squeeze out extra FPS, you can lower your resolution. A lot of professionals like to play on stretches, but this is not related to FPS performance.
Field of View: This will generally not have an impact on your game performance.
V-sync: This is important, Disable V-sync!. V-sync means that you will wait for vertical sync, which means that the game will not display an image before it is synced vertically. This can cause a delay.
Anti-Aliasing: Set this to None. Disabling TSAA will increase the performance of 2-3%.
Texture Streaming Budget: This is the texture quality or texture resolution. Again, for maximum performance set this to None. This will net you around 5-6% on performance.
Texture filtering: put this setting on bilinear filtering. Going from the highest to bilinear will net you an approximately 5-6% performance increase.
Ambient Occlusion Quality: This is also an important setting to adjust. It controls the quality of some of the shadows which are not good for competitive play and also bad for performance. Set this to None. Going from High to None will net you almost 15% increase in performance.
Sun Shadow Coverage: This setting will control the number of shadows from the sun. Set this to Low. We gained around a 4% increase in performance.
Sun Shadow Detail: This setting determines the details of the shadows from the sun. Set this to Low as well. Performance gains around 2%.
Spot Shadow Detail: Disable this to gain around a 3% performance increase.
Volumetric Lightning: Disable this. This setting determines whether sunbeams are cast. Disable to gain around 5% performance increase.
Dynamic Spot Shadows: Generally very little impact on performance. Recommendation: Disabled.
Model Detail: Set to Low. Improves performance by approximately 5%.
Effects Detail: Controls the quality of visual effects like explosions. Limited effect on performance.
Impact Marks: Limited to no effect on performance.
Ragdolls: Set to Low. Controls the physics of dead body animations.
Remove the Apex Legends FPS Cap
By default Apex Legends currently has a limit of the frame rates (FPS cap) of 144. Therefore, all your tweakings are wasted, unless you remove this FPS limit.
We have written a guide on how to remove the FPS cap in Apex Legends, but here is a short summary:
- Open the Origin Launcher
- Go to My Game Library
- Find Apex Legends and right-click the game
- Select Game Properties
- Click the Advanced Launch Options tab
- In Command-line arguments type in +fps_max unlimited
- Click Save
- Done!
Recommended monitors for Apex Legends
Getting all these FPS, is a waste if you do not have the right monitor to display more than 60 frames per second (60 Hz). Therefore, if you are a competitive player, we do not recommend buying a new monitor below the 144 Hz refresh rate. If you are loaded with cash or just want the best of the best, you should be looking into 240 Hz monitors.
All the gaming monitors we recommend have some things in common, which is:
- 1 ms response time.
- Above the 144 Hz refresh rate.
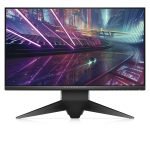
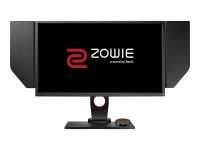
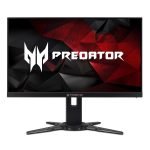
Popular 240 Hz monitors – Price range: $$$
A monitor with 1 ms response time and 240 Hz refresh rate, is the best you can get when it comes to performance. These monitors are not good for doing graphics work, but simply outstanding for ultimate gaming performance.
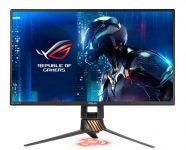
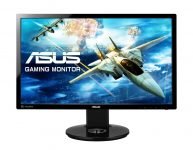
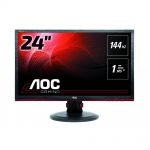
Popular 144 Hz monitors – Price range: $$
If you do not have the cash for a 240 Hz monitor, but still want something better than your old 60 Hz, these monitors are some of the best in the 144 Hz category.

Clean up your computer
If your computer is bloated, it can severely affect the performance and therefore the frame rates you get in games.
Here we will use the CCleaner software to clean up some files.
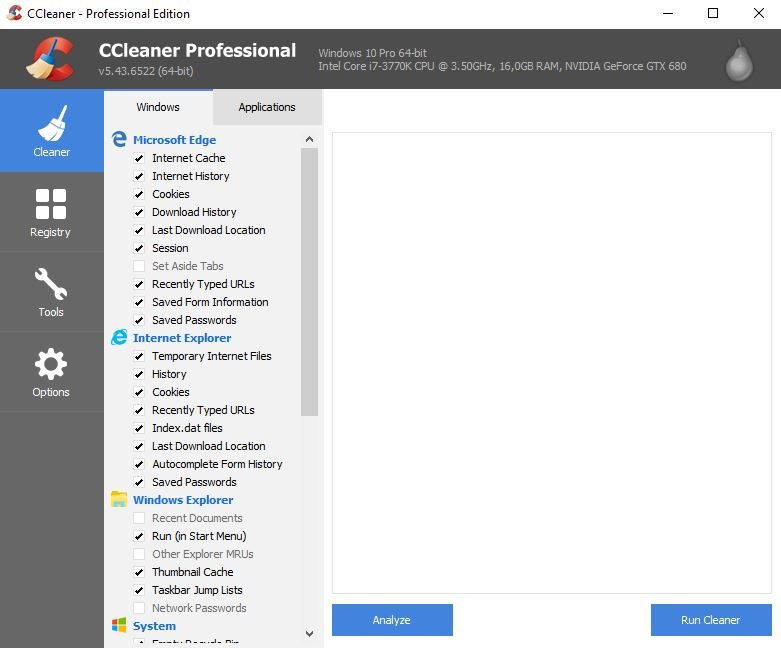
How to clean your computer with CCleaner
- The first step is to download and install CCleaner if you do not already have it. There are different versions of this program. Free, professional and business version. We recommend the professional version since it is very cheap and includes some additional features that are very useful.
- Download:
- Open the program and click on the Cleaner tab.
- Go through the settings in the menu called Windows and Applications and deselect anything you don’t want the program to delete. For example, this can be your cookies, since it will log you out of websites. You can also go to options and save the cookies you want and then it will only delete the cookes you have not saved.
- Now click on Analyze.
- CCleaner will tell you which files are gonna be deleted. If everything looks fine, proceed to Run Cleaner.
- Now click on the Registry tab on the far left.
- Click Scan for Issues.
- After the scan click on Fix Selected Issues. You might want to back up your registry database before, CCleaner will prompt you for this.
Optimize NVIDIA settings
If you have an NVIDIA graphics card, you can do some things to tweak your settings even more. These tweaks require that you go into your NVIDIA 3D settings, from the NVIDIA Control Panel.
Tip: Remember to keep your graphics card driver updated! Especially never graphics card will get a lot of performance boosts from just updating the drivers.
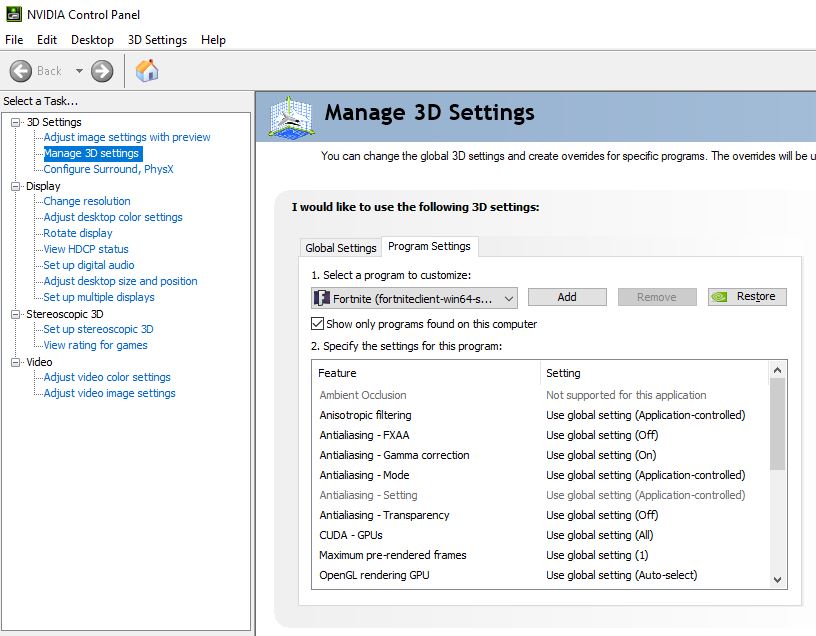
- Open the NVIDIA Control Panel (right-click on your desktop and choose it from the menu).
- Click Manage 3D settings.
- You can either change the settings for all programs and games, or you can do it for select programs. Select Global Settings or Program Settings and find Apex Legends on the list. If you choose Global Settings, the changes will affect all programs and games.
- Set Maximum pre-rendered frames to 1.
- Set Preferred refresh rate to “Highest available”.
- Set Power Management Mode to “Prefer maximum performance”.
- Set Threaded optimization to ON.
- Set Vertical sync to OFF.
- Click apply and you can now close the control panel again.
That’s it, you should now have increased your FPS substantially! If you have any suggestions, please feel free to leave a comment.
Best Mouse Settings & Sensitivity for Apex Legends
For an FPS game, mouse settings are crucial for you to be able to aim at your best. What we often see from beginners, is that they tend to have their sensitivities set up way too high. After analyzing more than 1000 professional players from various games like CS:GO, Fortnite, Overwatch, and PUBG, we can safely conclude that this is the number one shared setting between professional players. Almost all players, will have their sensitivities set relatively low. How low often depends on the game, in CS:GO we are talking really really low, where you almost need two mousepads just to make a 360 turn. In Fortnite, sensitivities are a bit higher, since it requires that you can build as well.
So what are the best sensitivity?
Before you set your in-game sensitivity, it is important that you adjust your CPI – counts per inch (sometimes referred to as DPI, which stands for dots per inch). On almost any gaming mouse, you will be able to adjust your CPI settings. What is worth noting, is that higher is not better. All mice have a native resolution of around 400-1600. If your mouse state a higher CPI, it simply means it is scaling the resolution to get a higher artificial CPI. This will not benefit you in any way, so let’s hope companies go away from using it in their marketing. Anyway, before this turns into a technical article, let us just state that choosing a CPI between 400 to 1600 is fine.
Choosing your in-game sensitivity depends on your CPI, as it works as a multiplier. If you are using 1600 CPI your in-game sensitivity should be lower than if you are using 400 CPI. As a general recommendation, if you CPI is 800 your in-game sens. should be around 1.5-3 (in that range, don’t take exact numbers too seriously).
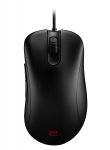
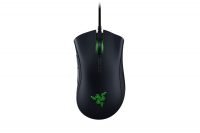
Mouse recommendations
If you are not already using a gaming mouse and want to become a better player, now is the time to step up your game. A proper gaming mouse is the cheapest investment you can make that will have the biggest impact on your performance in FPS games. We have reviewed many mice and looked over countless professional players, so we know what we are talking about.
This is some of the best and most popular gaming mice on the market. What they have in common, is that they use excellent mouse sensors from the best vendors.

List of Pro Settings
If you want inspiration from professional players and popular Twitch streamers, I would recommend you check out our list of Apex Legends Pro Settings. In the list, you can find a variety of pro players and streamers and their settings, gear, and setups. The list is continuously updated with new players. Currently, the list contains players like Shroud, Ninja, Summit1g, Timthetatman, and DrDisrespect.
Looking at professional players and their settings can serve as a good inspiration when you are tweaking with your own settings.
Pro Players Showcase their Settings
In this video, some of the popular streamers can be seen showcasing some of their in-game Apex Legends settings.